
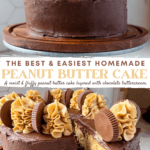
Peanut butter and chocolate are one of the most iconic flavor combinations and for good reason. I know I can eat about 75 Reese’s peanut butter cups in one sitting if I am left unattended. And while there are tons of peanut butter and chocolate cake recipes out there, I still wanted to create my own version.
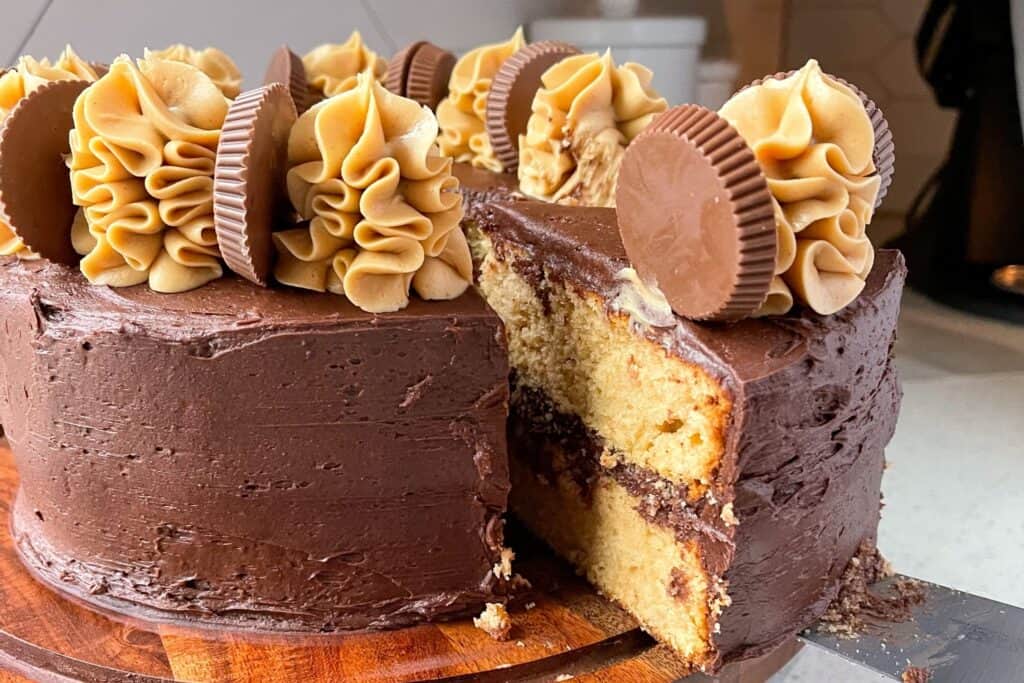
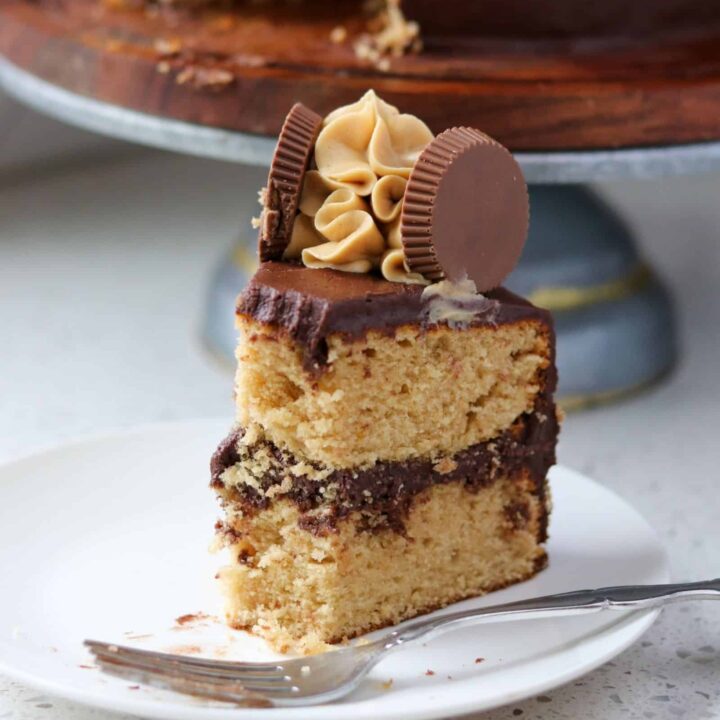
So, I did! Please allow me to present to you my attempt at a peanut butter and chocolate cake. The result is layers of fluffy and tender peanut butter cake, sandwiched between sweet chocolate buttercream, and topped off with dollops of creamy peanut butter frosting.
Yeah, it’s as good as it sounds. I really wanted to create a peanut butter cake instead of a chocolate cake for this because it’s much more rare to have. While chocolate cake will always reign supreme for me, I think this peanut butter cake is a close second, followed closely by my Chocolate Chip Espresso Cake.
Peanut Butter Cake Recipe Walkthrough
When deciding how to create my peanut butter cake and after looking at recipes for peanut butter cake, I knew I wanted to use a yellow cake base and transform it into a peanut butter one. I’ve always preferred a yellow cake over a plain vanilla one, probably because of the brown sugar. Thankfully, my theory was correct. This yellow-turned-peanut butter cake was a massive success!
I’ll walk you through how you can achieve this easy peanut butter cake in the bog post down below. You’ll find step-by-step instructions with photos and in depth recipe notes. However, if you’re feeling extra confident, feel free to scroll down to the recipe card at the bottom of the post and get started! You go, Glen Coco.
How to Make a Peanut Butter Cake?
Now, you may be wondering how to make a homemade peanut butter cake. Well, I am happy to tell you that this peanut butter cake recipe is basically a yellow cake with peanut butter added. And while it is not truly as simple as that, it’s the easiest way to think about it! So, have no worries. A peanut butter cake is no harder to make than most other cakes.
The tricky part is incorporating the peanut butter into the cake batter without throwing off all of the ingredient ratios. Luckily for you, I have done all the recipe testing so you don’t have to.
Step 1: Mix cake flour, baking powder, baking soda, and salt together.
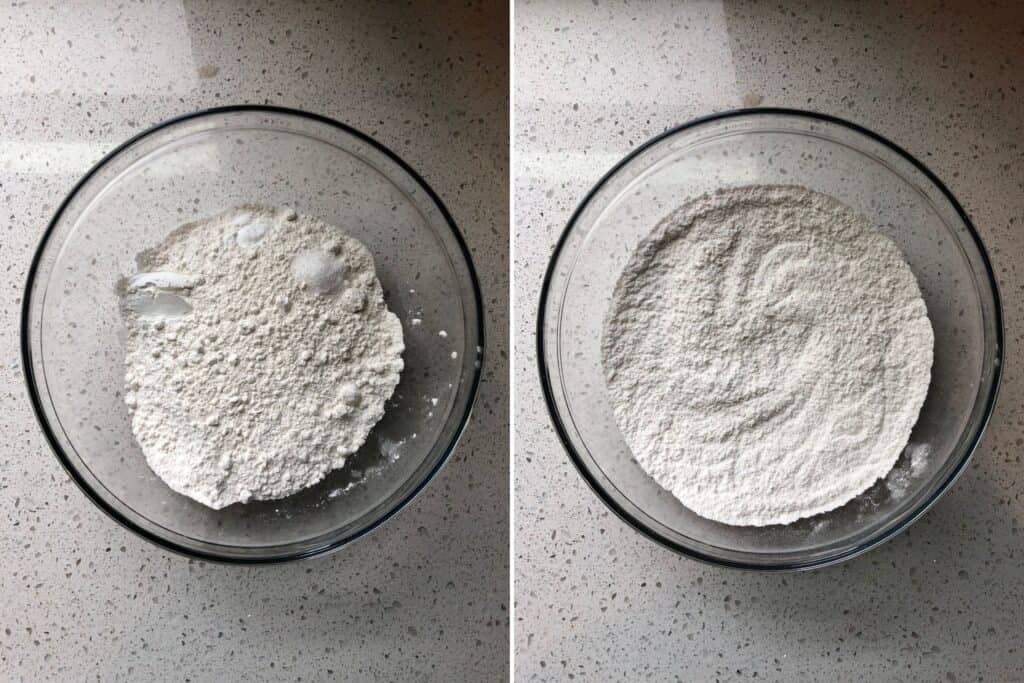
Once all of the ingredients have been whisked together, set aside.
Using cake flour results in a very fluffy, tender, and, excuse my french, moist cake. This is due to the fact that cake flour has less protein than your traditional all-purpose flour. Less protein means less gluten-forming proteins that create a softer cake structure.
Step 2: Cream butter, peanut butter, and brown sugar together.
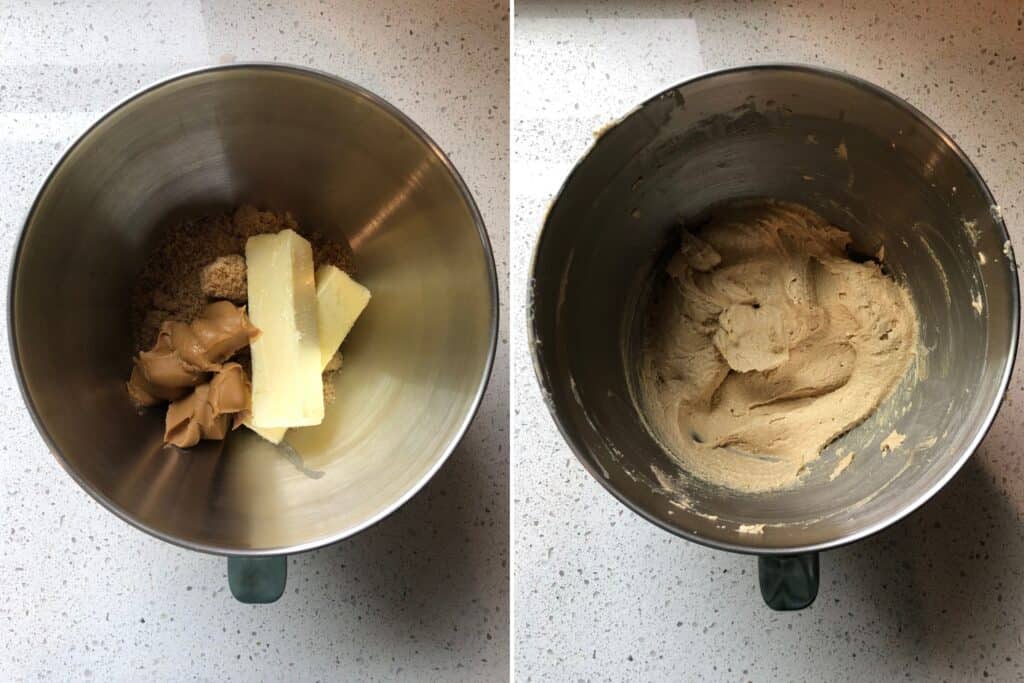
Using the paddle attachment on the stand mixer, cream the butter, peanut butter and brown sugar together on medium to high speed. Beat until the mixture is light and fluffy, about 3-5 minutes.
Be sure to scrape the bowl down halfway through to prevent any lumps from sticking to the bottom of the mixing bowl.
Step 3: Add egg yolks.
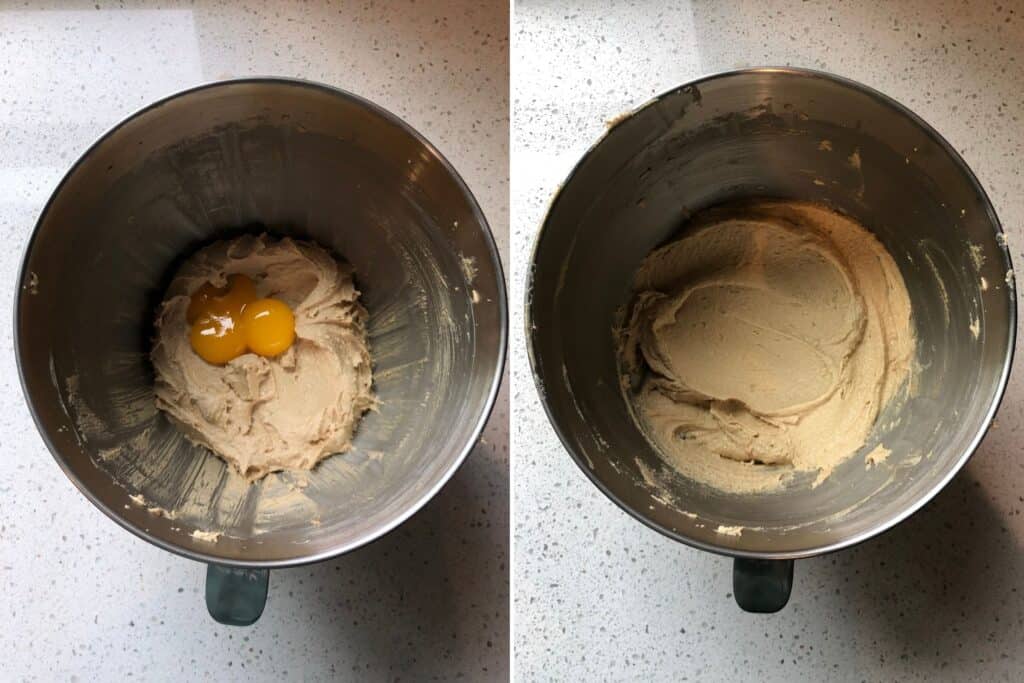
Reduce the mixer to low speed and add the egg yolks. Mix until the egg yolks are fully combined, about 1-2 minutes.
Step 4: Add vanilla.
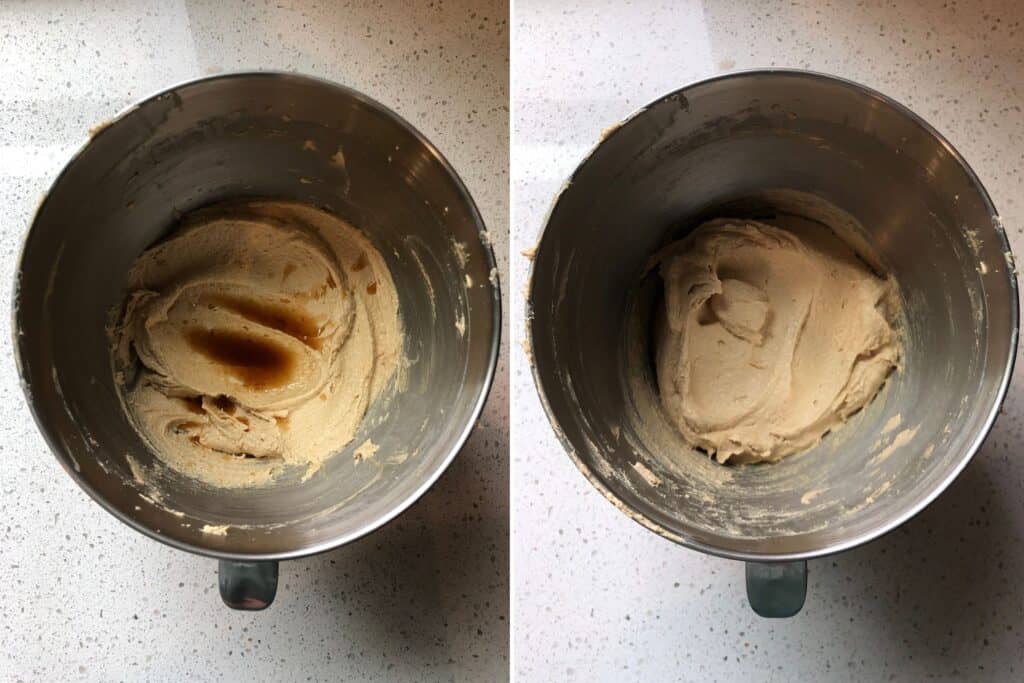
Mix until just combined. Be sure to scrape down the sides and bottom of the mixing bowl, to make sure that all of the batter is getting evenly mixed.
Step 5: Alternatively add the flour mixture and buttermilk.
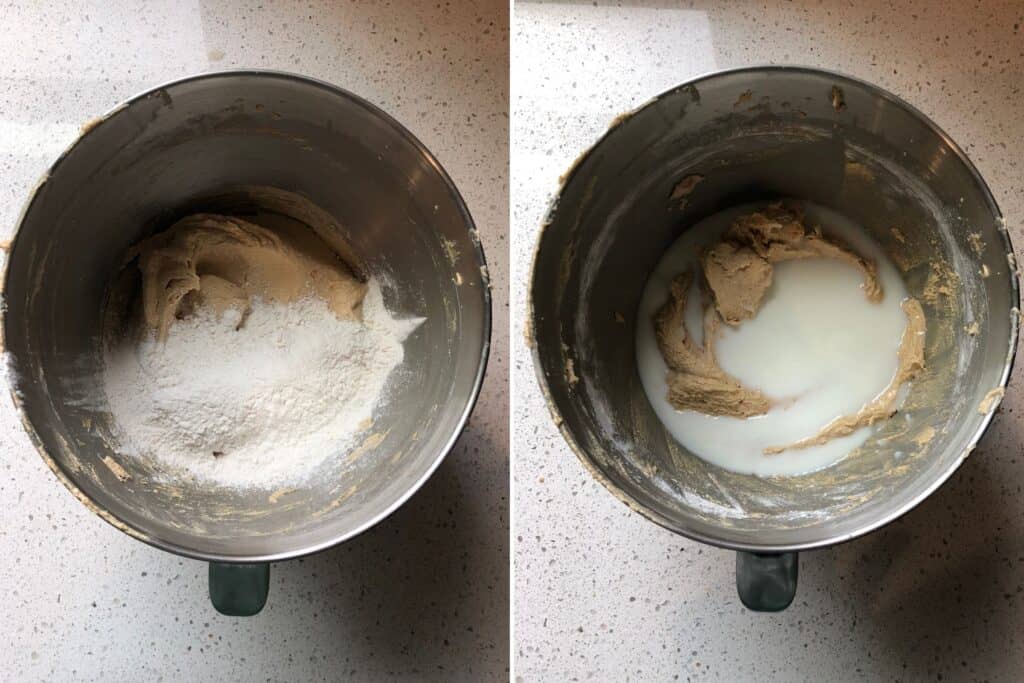
Add one third of the flour mixture and mix on low speed until just combined. Follow it with half of the butter milk and mix until just combined. Add another third of the flour mixture, followed by the remaining half of the buttermilk, and finished off with the last of the flour mixture, mixing after each addition.
As always, scrape down the sides and bottom of the mixing bowl to ensure that all of the batter is getting mixed evenly and no lumps remain.
Step 6: Whisk egg whites and cream of tartar together until stiff peaks begin to form.

Typically, trying to mix two egg whites in the stand mixer will take a hot minute to get going since it’s such a small amount of liquid.
I like to “pre-whisk” the egg whites and cream of tartar with a hand whisk to get it started and finish it off in the stand mixer to achieve the stiff egg whites I’m looking for.
Step 7: Gently fold egg whites into the cake batter.
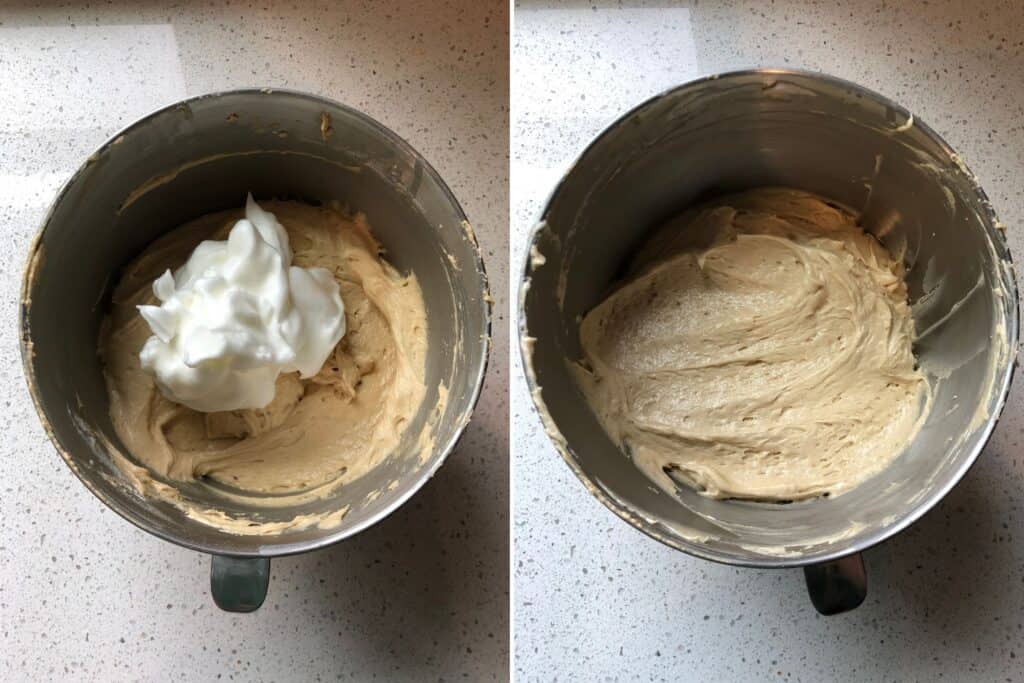
Using a rubber spatula, gently fold the egg whites into the cake batter. This will take some patience and some arm muscles, but it will all come together!
Taking the time to gently incorporate the egg whites allows them to hold all the air you just whipped into them. If you stir them in too quickly and harshly, you will lose all of the air you just worked so hard to incorporate into them. The result is an unwanted change in texture in the cake.
Step 8: Pour the cake batter into the prepared pans and bake.
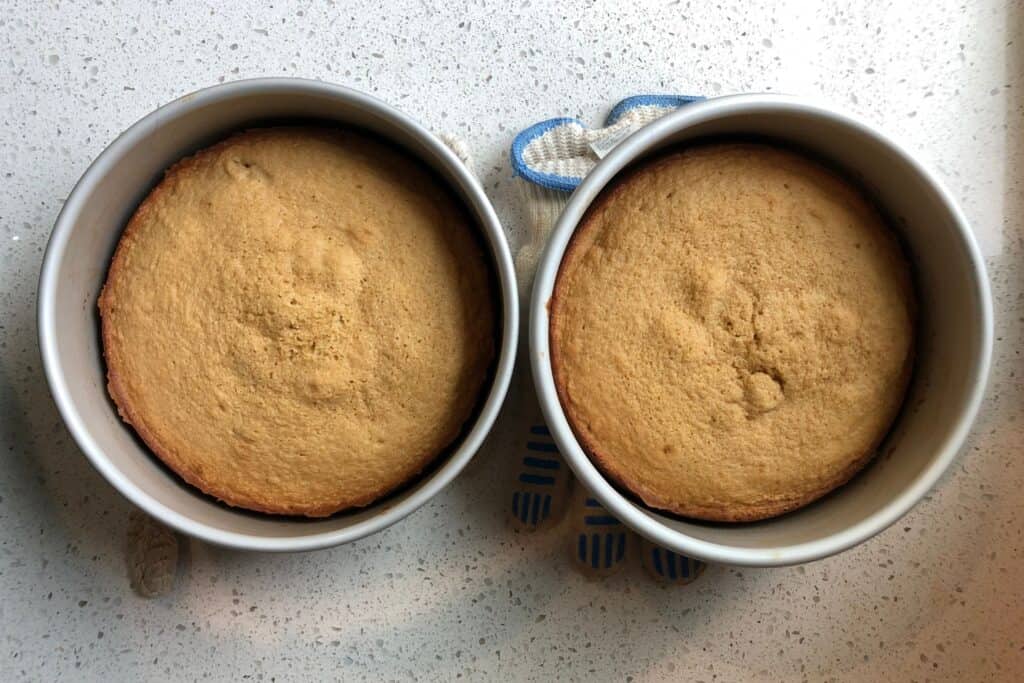
Pour the cake batter into the two 8″ x 3″ prepared cake pans. Prepared pans will have parchment paper lining the bottom and generous amounts of butter to grease the bottom and sides of the pan.
Side note: If you’re lazy like me, you can use parchment paper already shaped into circles that are used for a tortilla press. This saves you the time and hassle of having to cut out your own parchment rounds. If you bake enough, it makes a big difference and is worth the investment!
Anyway, bake the two cakes at 350ºF for 28 minutes. Around the 18 minute mark, be sure to cover both cakes with aluminum foil to prevent the tops of the cakes from catching. Bake for the remaining 10 minutes covered.
The peanut butter cakes are finished when a toothpick inserted comes out clean.
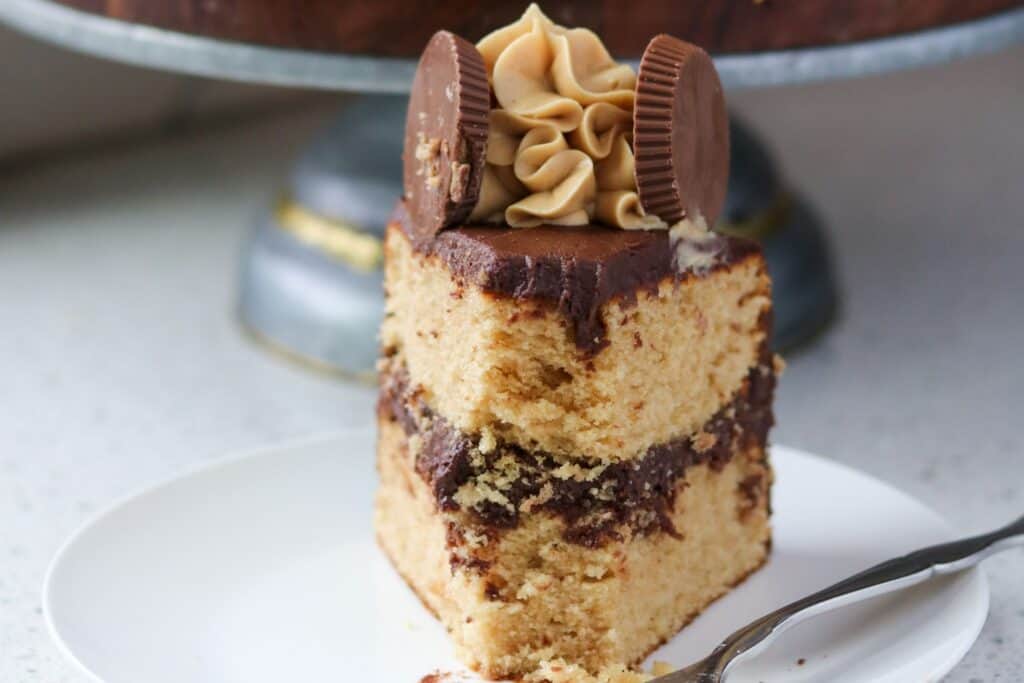
Once the cakes have cooled, frost with Sally’s Baking Addiction’s Chocolate Buttercream Frosting recipe. While it may seem like an unneccessary extra step, I highly recommend also using my Peanut Butter Frosting recipe for decor and flavor.
It adds so much to the flavor profile of the cake when added. But, if you prefer a more toned down peanut butter flavor then you can leave this out. I wouldn’t recommend it though! After all, this is a Peanut Butter Cake. So, the more peanut butter the better!
If you like this recipe, you’ll probably also like my Peanut Butter and Chocolate Bundt Cake recipe or my Chocolate Peanut Butter Ice Cream Pie too! Let me know if you try this recipe and how you liked it down in the comments below.
Peanut Butter Cake
Layers of fluffy peanut butter cake, sandwiched between chocolate buttercream, and topped with dollops of peanut butter frosting.
Ingredients
- 2 1/4 C (266g) Cake Flour
- 2 tsp Baking Powder
- 1/4 tsp Baking Soda
- 1/2 tsp Kosher Salt
- 1 C (226g) Unsalted Butter, room temperature
- 1/2 C (128g) Peanut Butter
- 1 3/4 C (336g) Light Brown Sugar
- 2 Egg Yolks, room temperature
- 2 tsp Vanilla
- 1 C (240ml) Buttermilk, room temperature
- 2 Egg Whites, room temperature
- 1 pinch cream of tartar
Instructions
- Preheat the oven to 350ºF. Prepare two 8 inch cake pans by lining the bottoms with parchment paper and generously greasing the sides and bottom of the pans with butter.
- In a large mixing bowl, add the cake flour, baking powder, baking soda, and salt. Whisk together until completely combined. Set aside.
- In a stand mixer, using the paddle attachment, cream the butter, peanut butter, and brown sugar. Mix on medium to high speed until the mixture is light and fluffy, about 3-5 minutes. Be sure to scrape the bowl down halfway through to prevent any lumps from sticking to the bottom of the mixing bowl.
- Lower the mixer to slow speed and the egg yolks. Mix until the egg yolks are fully combined, about 1-2 minutes.
- Add the vanilla. Mix until combined.
- Add one third of the flour mixture and mix on low speed until just combined. Add half of the butter milk and mix. Add another third of the flour mixture, followed by the remaining half of the buttermilk, and finish off with the last of the flour mixture, mixing after each addition.
- In a separate mixing bowl, whisk the egg whites and cream of tartar on high speed until stiff peaks begin to form, about 5 minutes.
- Gently fold the egg whites into the batter until fully incorporated.
- Pour the cake batter into the prepared cake pans. Bake for 28 minutes. At the 18 minute mark of baking, cover the cake pans with aluminum foil to prevent the tops of the cakes from burning. The cakes are done with a toothpick inserted comes out clean.
- Remove the cakes from the oven and cool in the cake pans completely before flipping out. Once the cakes are cooled, frost and enjoy!
Notes
Nutrition Facts only include information for the cake.
Nutrition Information:
Yield: 14 slices Serving Size: 1 sliceAmount Per Serving: Calories: 345Total Fat: 18gCarbohydrates: 42gProtein: 5g