

I’ve always wanted to make ice cream at home, but never did because it seemed like it would be difficult. However, once I found this recipe from Stella Parks, I knew I had to give it shot and put my own spin on it. So, this delicious homemade Mexican Vanilla Ice Cream stuffed with Oreos was born.
I have to say, I have even impressed myself with this treat. Thanks to Stella’s base recipe, I think I will be making lots of ice cream flavors this summer. But before I get ahead of myself, keep reading so you can learn how to make homemade ice cream too!

Homemade No-Churn Oreo Ice Cream Recipe Walkthrough
Alright, here is where I am going to walk you through all of the steps on how to make this easy ice cream. There are only about 5 steps needed to achieve this simple dessert. The hardest part will be waiting until the ice cream is completely frozen before digging in!
Making the Ice Cream
This homemade ice cream could not be any easier to make! There’s no need to run to the store to pickup an ice cream maker just yet. This recipe is a simple 3 step process and only requires a stand mixer, a sauce pan, and the freezer.
Step 1: Using the whisk attachment in a stand mixer, whisk the heavy whipping cream on high speed for 3-5 minutes.
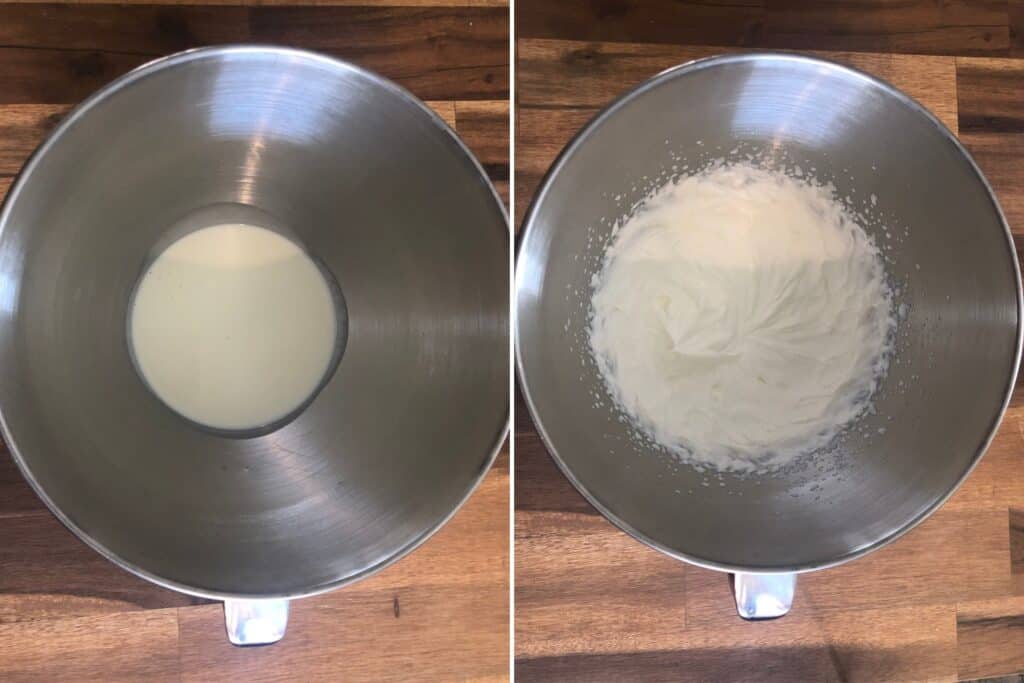
The whipped cream is done when stiff peaks begin to form. It’s best to start with heavy whipping cream straight out of the freezer to ensure that the consistency is correct. Once done, put the cream into the fridge while you prepare the rest of the ice cream.
Step 2: Mix eggs, sugar, salt, cinnamon, and Mexican vanilla together in small bowl.
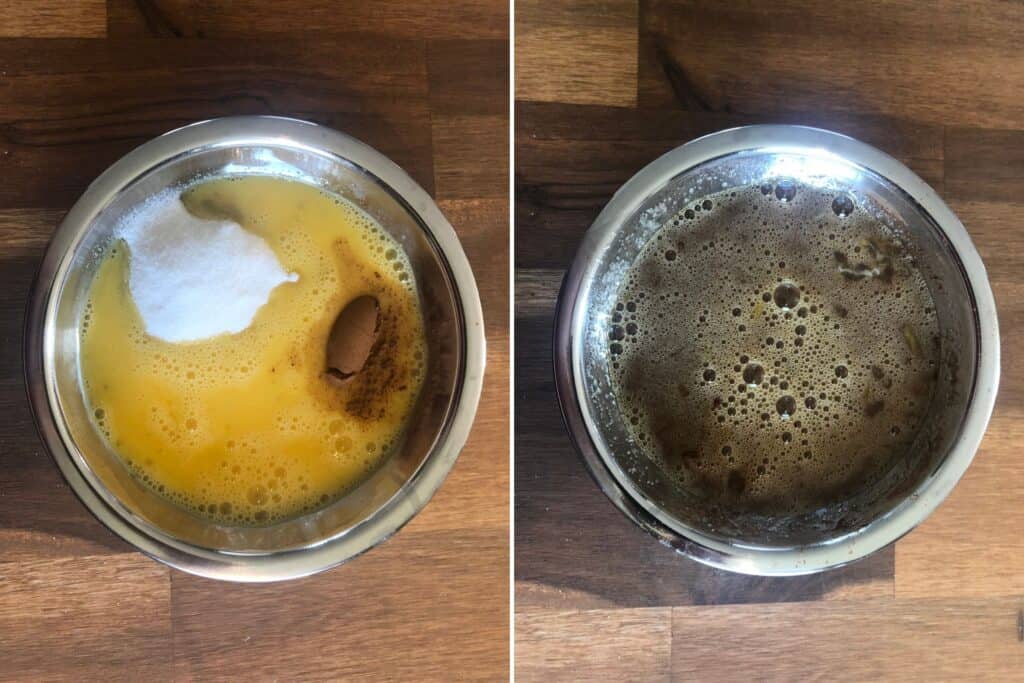
Adding the Mexican Vanilla and cinnamon creates a more dimensional flavor profile. I was inspired to add these components after trying the Buddy’s Burger Oreo shake here in Austin.
Side note: Buddy’s is on our best restaurants in Austin, Texas list, and you should definitely get a burger and shake next time you’re in town!
Step 3: Cook the egg mixture over a bain-marie until it reaches a temperature of 160ºF.
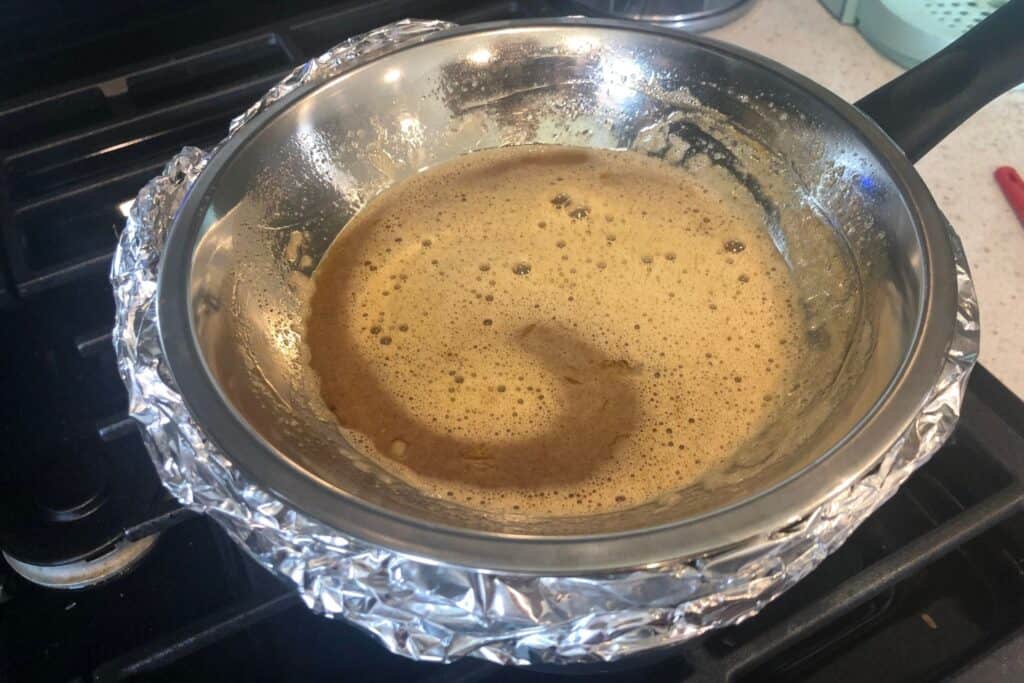
Once the egg mixture reaches a temperature of 160ºF it is completely cooked and safe to be consumed. The trick is to cook the mixture slowly and gently. This is achieved using the cooking method called “bain-marie.” It’s not as complicated as it sounds, don’t worry!
All you have to do is bring some water to a boiling in a sauce pan. Once it has reached a boil, lower the temperature to keep the water and a simmer, and place the bowl with the egg mixture on top.
Adding the strip of foil around the base of the bowl, prevents the bottom of the bowl from touching the simmering water below. Essentially, what we are trying to do is cook the eggs from the steam below as opposed to direct heat.
Step 4: Pour the cooked egg mixture into the bowl of a stand mixer, and using the whisk attachment, whisk on high speed for 5-8 minutes.
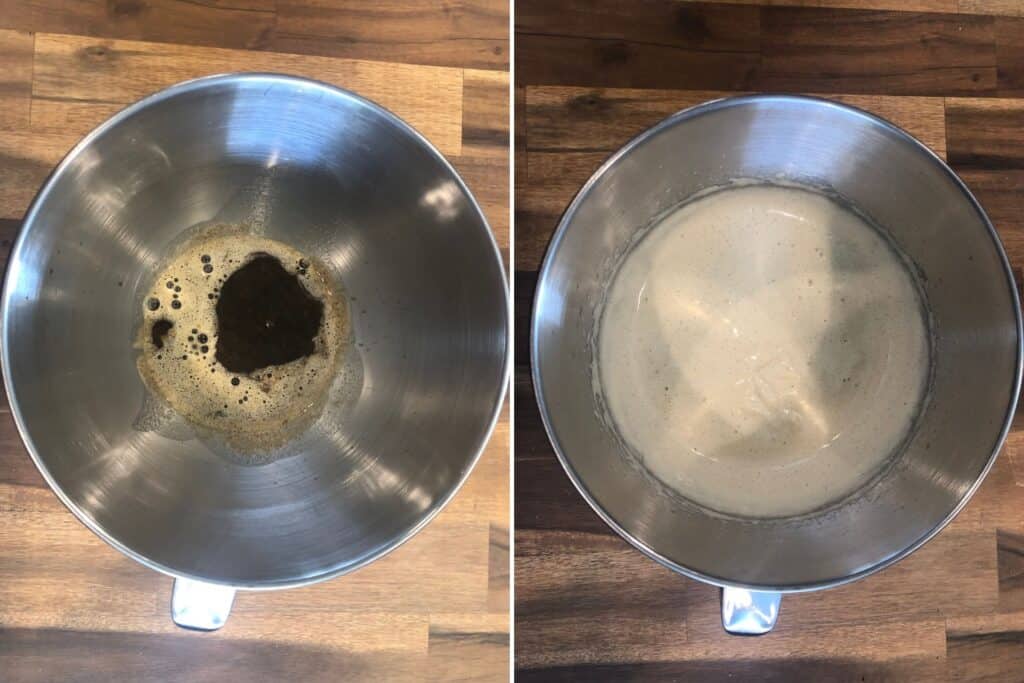
The mixture will almost quadruple in size, as seen in the photos above, and will have the consistency of soft serve ice cream. The thicker and fluffier you can get the mixture, the better!
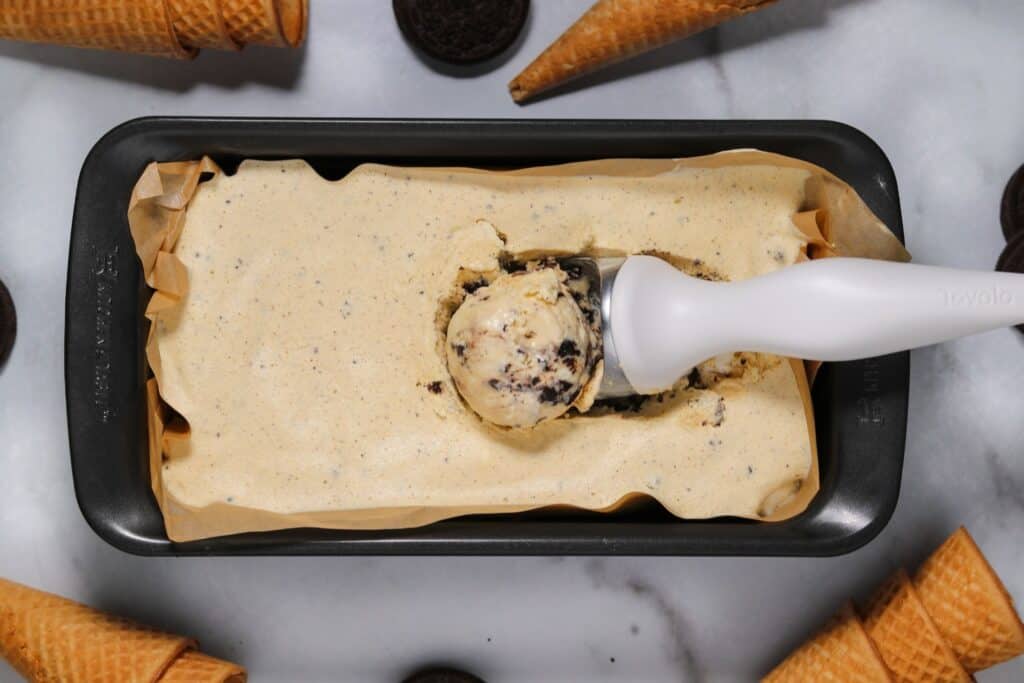
Step 5: Gently fold in the whipped cream and crushed Oreos, before pouring into the loaf tin and freezing overnight.
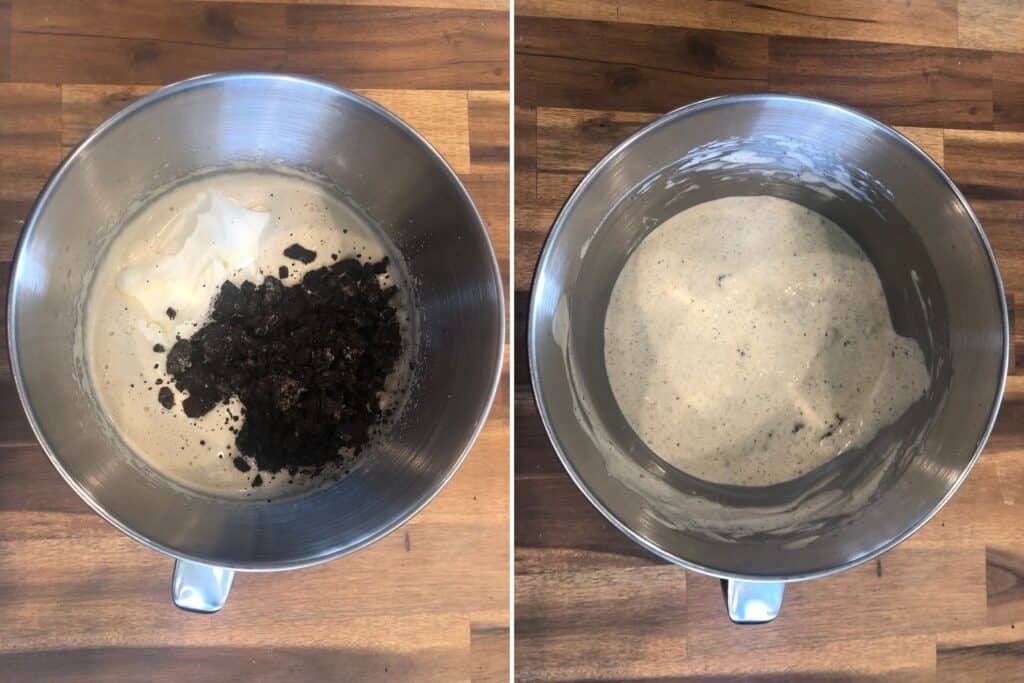
Folding in the whipped cream and Oreos ensures that all the air isn’t knocked out from the mixture. Folding everything together does take extra time and effort, but it creates the desired consistency for a good ice cream. So, don’t get impatient and start stirring vicariously. Good things take time!
And that’s it! Simple right? The fun part is that you can easily switch up the flavor profile and have as many homemade ice cream flavors as your heart desires. Personally, I would love to try to make a Mint Chocolate Chip version of this tasty treat.
Does that sound like something you would be interested in? Let me know down in the comments below! If this recipe is to your liking, don’t forget to share it where you like to hangout online. After all, everyone deserves to know how to make delicious homemade ice cream.

Homemade No-Churn Oreo Ice Cream
A simple, homemade vanilla ice cream stuffed with Oreos and a surprise hint of cinnamon.
Ingredients
- 1 C (240ml) Heavy Whipping Cream
- 3 Eggs
- 1/2 C (100g) Sugar
- 1/4 tsp Kosher Salt
- 1/2 tsp Cinnamon
- 3/4 tsp Mexican Vanilla
- 10 Oreos, crushed
Instructions
- In a stand mixer, using the whisk attachment, whisk the heavy whipping cream on high spread for 3-5 minutes until stiff peaks begin to form.
- Remove the whipped cream from the mixing bowl and place in the refrigerator while prepping the rest of the ice cream mixture.
- In another bowl, mix the eggs, sugar, salt, cinnamon, and Mexican vanilla until fully combined.
- Fill a saucepan halfway with water and place over high heat until it reaches a rolling boil. Lower the heat to maintain a simmer, and place the bowl with the egg mixture over the saucepan. Make sure that the bottom of the bowl does not touch the water. You may want to use a crumpled strip of aluminum foil formed into a ring to act as a booster for the bowl to sit on top of the pan so that the bottom of the bowl does not touch the water beneath it.
- Cook for 5 minutes, stirring constantly. Remove the bowl from the heat when the mixture reaches 160ºF.
- Pour the egg mixture into the bowl of a stand mixer. Whisk on high speed for 5-8 minutes, until the egg mixture has quadrupled in a size. The mixture is done when the consistency is like soft serve ice cream.
- Gently fold in the cold whipped cream and crushed Oreos.
- Pour the mixture into a loaf tin, lined in parchment paper, and freeze for 8 hours or overnight.
- Enjoy!
Nutrition Information:
Yield: 6 Serving Size: 1 bowlAmount Per Serving: Calories: 322Total Fat: 22gCarbohydrates: 31gProtein: 4g