
While lots of people are super into makeup these days, there’s also a lot more people who are super intimidated by makeup, which is understandable. The makeup industry is overflowing with new products and brands every day. AND it seems like makeup techniques are changing even faster.
I used to fall into the intimidated portion of people when it came to makeup, until I learned to have fun with it. Now, all the new products and techniques that pop up are fun ways to change things up and challenge myself.
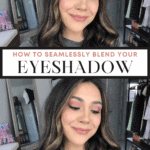
However, since I do understand what it feels like to be overwhelmed with makeup I have developed some easy tips and tricks to simplify the process. So, for those of you who struggle with makeup, here is my foolproof eyeshadow technique to teach you how to blend eyeshadow, that is sure to make your eyes sparkle.
How To Blend Eyeshadow: The Secret
In my opinion, the secret to a beautiful eyeshadow application is taking the time to blend in ALL of the products. Like, spend at least 3x’s more time on blending than you think you should and then go back and blend again. And I’m not just talking about blending at the end of applying all of the shadows, I mean take the time to reaaaallllllly blend at each step.
Another important step is taking the time to layer the shadows. By using layers of multiple colors, you will be able to create a more dimensional and impactful look than if you applied only a few colors. Adding multiple colors, helps build the foundation for a more seamless and blended application. There’s nothing worse than a choppy application.
For this tutorial, I have used a mixture of the Huda Beauty New Nude eyeshadow palette & Jacqueline Hill X Morphe eyeshadow palette.
Step 1: Start with the lightest color in your crease.
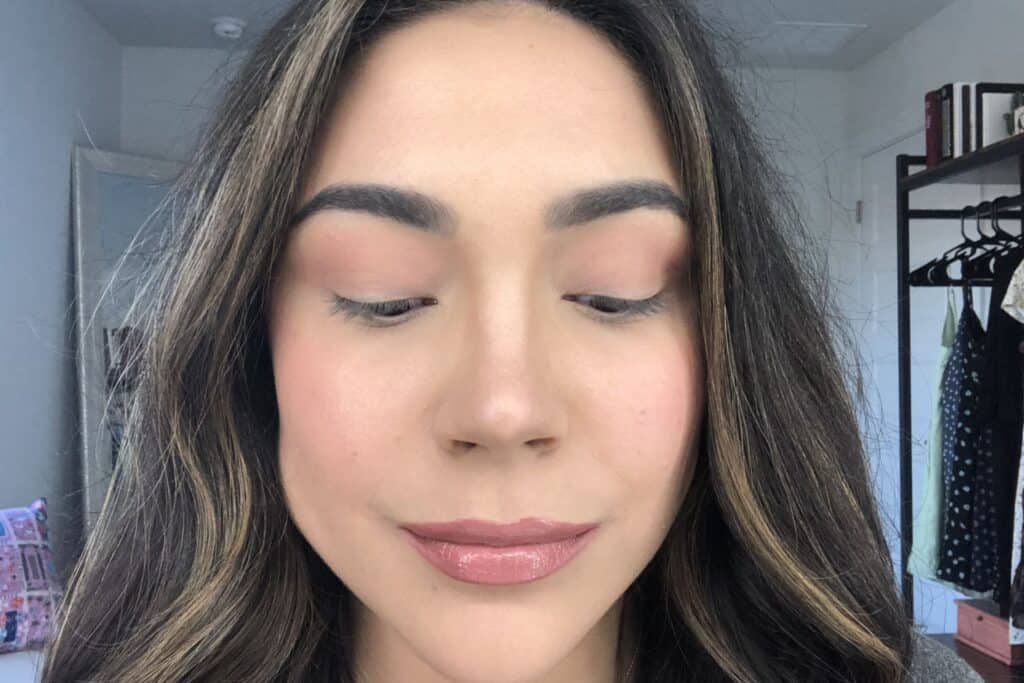
Here I have used the shade “Secret” as my lightest color for my crease. I picked a neutral matte shadow that will be a good foundation for the other shadows and an easy shade to blend and build with the shadows that follow. It’s much easier to build and blend when you start with lighter shadows and work your way to the darker ones.
Step 2: Follow with the next lightest color in your crease.
I followed with the shade “Tickle” over the first layer of the shade “Secret.” As you can see, I am following up with a slightly darker and more pigmented color to build on the first neutral color applied. Already the two shadows together are more dynamic than just the one.
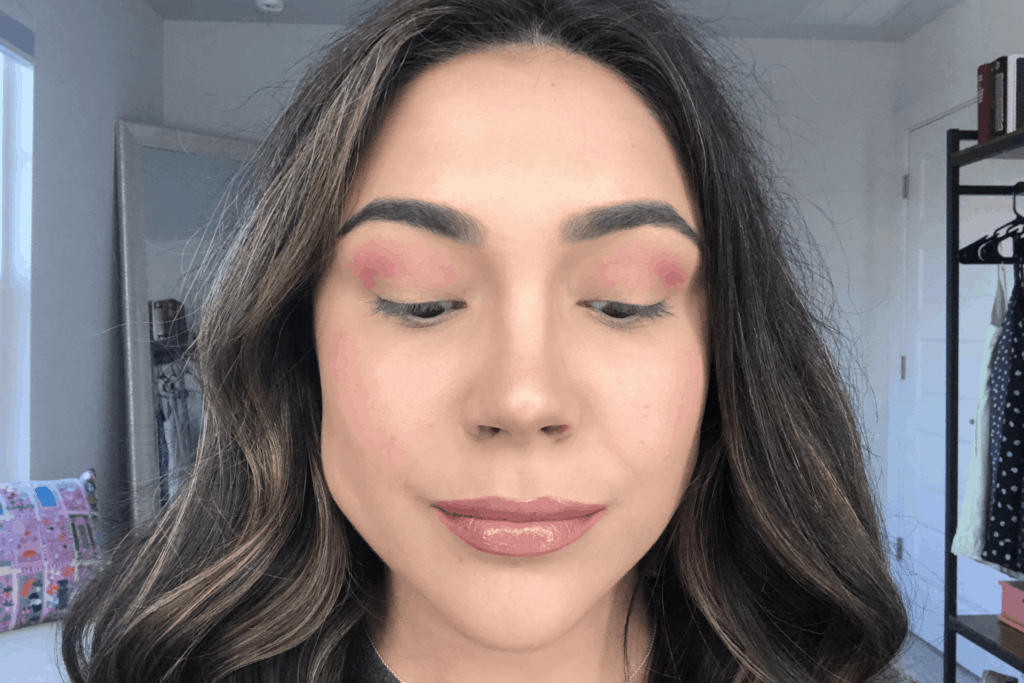
Step 3: Add the darkest shade to your crease and lower lash line.

This next shade will be the one that provides some contrast and what really makes the colors pop. Here I’ve used the shade “Love Bite” as the darkest color that I will be putting in my crease. This is the part where it can get a little tricky, so I have a few tips that will make it easier.
#1 – Make sure you tap off any excess product before you apply anything. This helps eliminate fallout from the eyeshadow getting in places that you don’t want it. The more pigmented the eyeshadow, the more likely there will be fallout that can get messy very easily.
#2 – Make sure that the first spot the brush touches on your eyelid is where you want your shadow the darkest. It’s much easier to blend out when you are already placing the product where you want it the darkest first. For me, I typically will want my shadow the darkest in the corner of my crease. So, I will make sure the the brush touches there first when the most product is on the brush and then blend out the product into the rest of my crease.
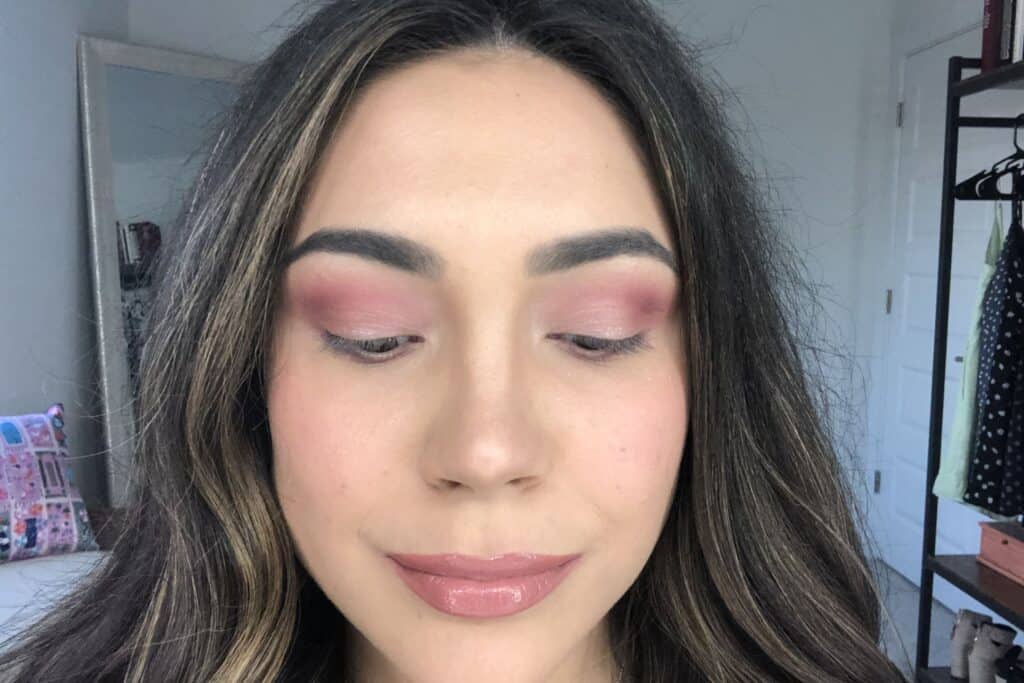
Step 4: Add the shimmer shade to the center of your lid.
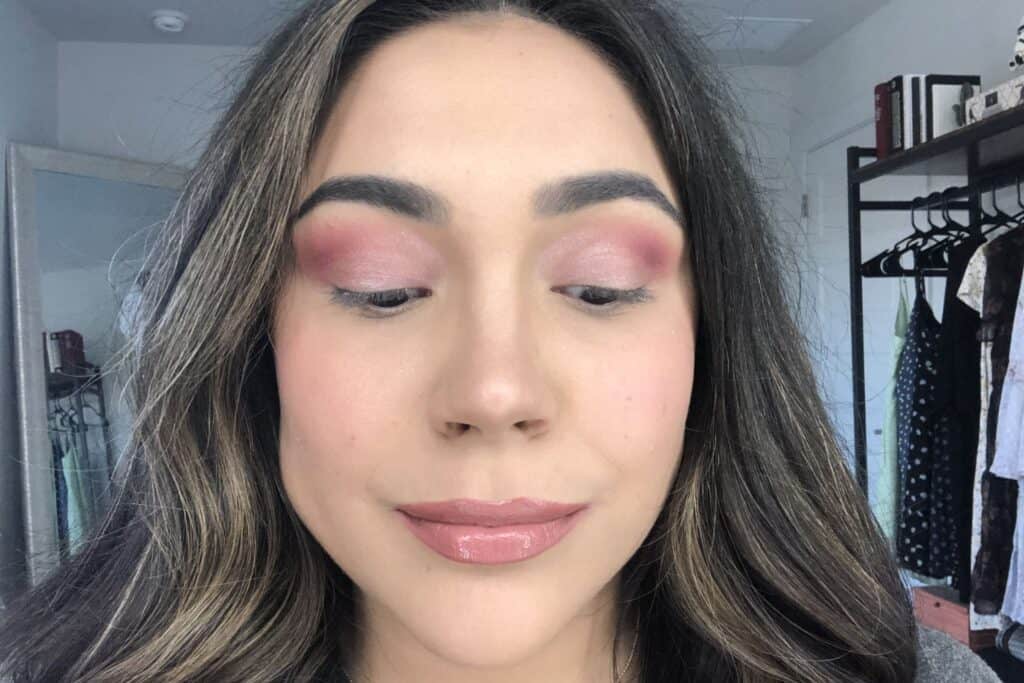
My favorite part of any eyeshadow look is the shimmer shade! If there’s no sparkle, then I am NOT here for it. Here I’ve applied shade “Daydream” in the center part of my eyelid.
However, if you are going for an all matte look, then this step would still apply, just with the lightest shade you plan on using. Typically, I will use a pretty light and bright shade here to provide some contrast with the darkest shade in my crease.
Step 5: Apply the darkest shade, one more time.
Make sure you touch up your crease one more time after applying the shade to the center of your eyelid. I’m applying the shade “Love Bite” here again, just to blend over any shimmer shadow that got into my crease.
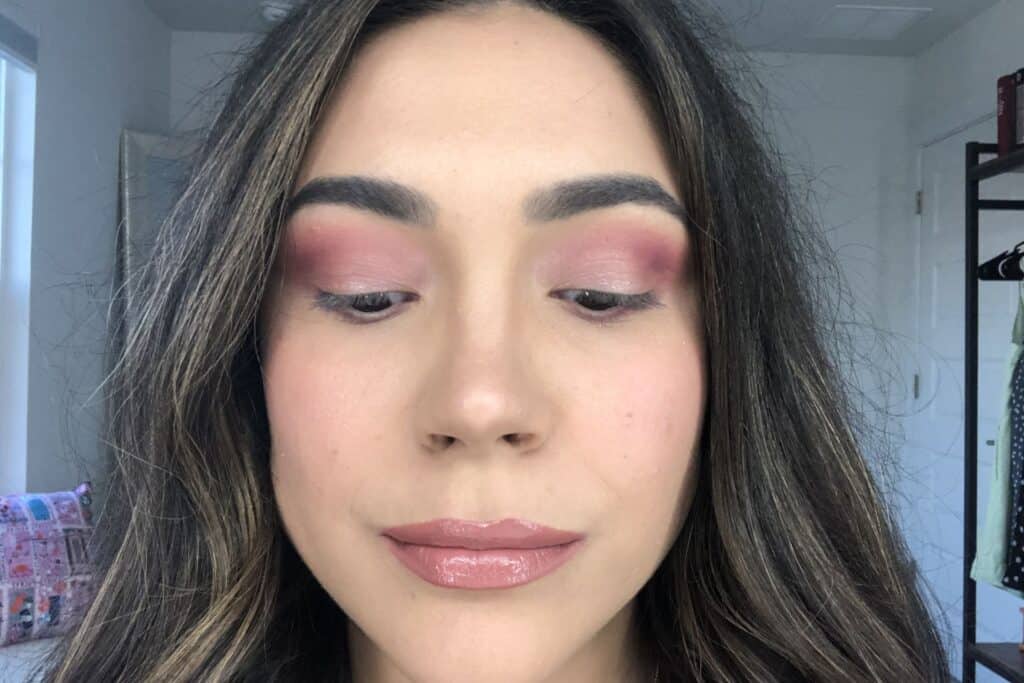
Step 6: Apply highlighter to brow bone and tear duct.
Here is where I use the Jacqueline Hill x Morphe palette for the shade “Beam.” I use this shade on my brown bone and tear duct. By applying a highlighter in these two spots, you are brightening and defining the area. This helps make the eyeshadow look as a whole more dynamic and creates some nice contrast.
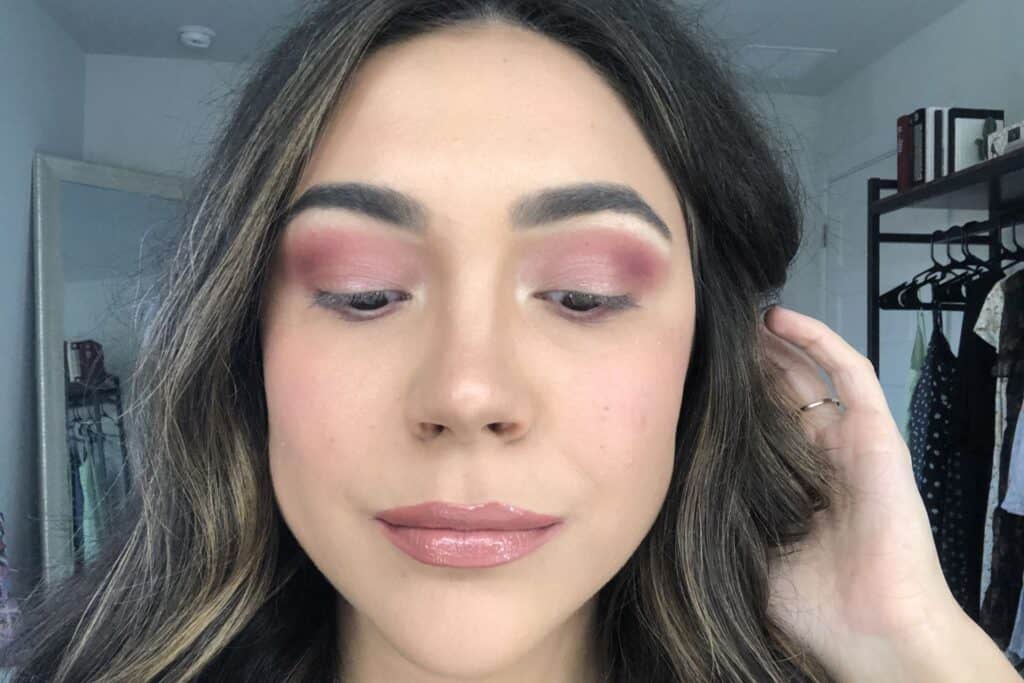
Step 7: Blend/Buff out.
As always, be sure to blend everything out one more time. I take a brush with no product on it to buff out the highlighter shade that I have just applied and blend it into the other shadows. This creates a seamless and well blended effect that is stunning!
It is pretty obvious compared to the photo above what a difference that blending does from when the highlighter was first applied. Blending is KEY! The photos speak for themselves.
Step 8: Apply eyeliner, mascara, and lashes.
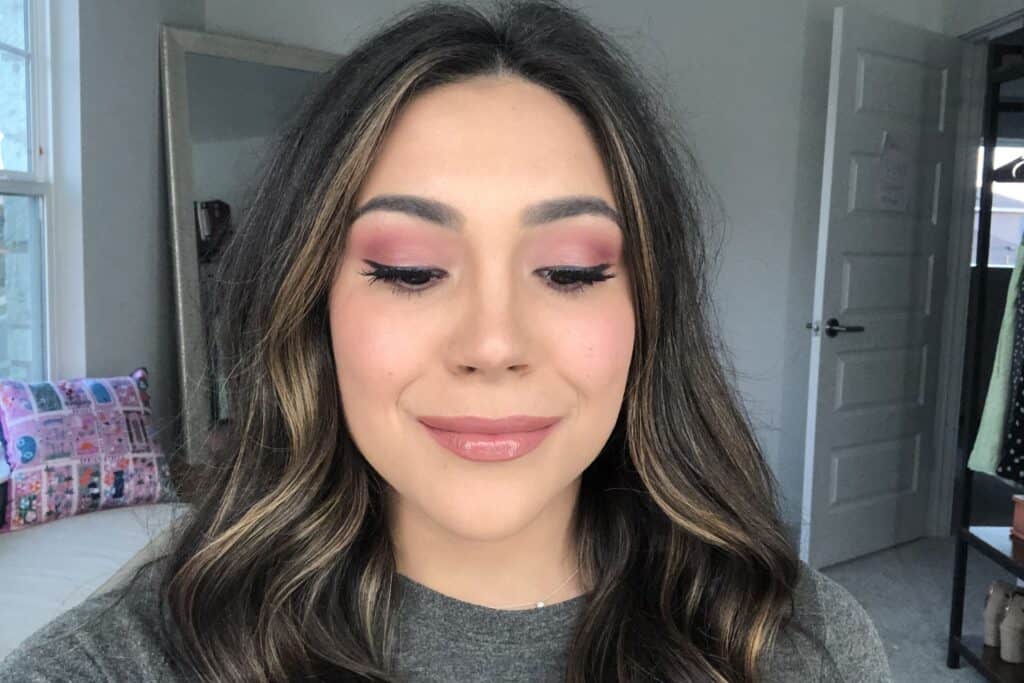
Adding eyeliner, mascara, and false lashes makes the eyeshadow applied more cohesive with the rest of the makeup on your face. If you apply lots of eyeshadow and don’t apply enough makeup on your other features (like your brows, lashes, and face), the eyeshadow will look too harsh and off-putting compared to the rest of your face.
Step 9: Strut your stuff.
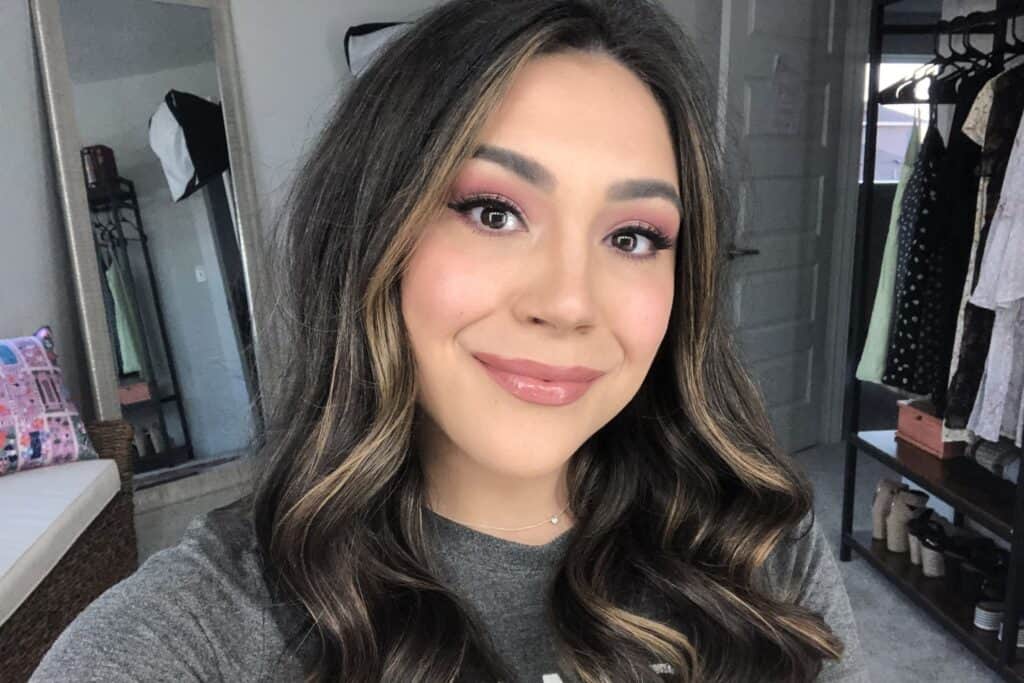
And there you have it! The secret of how to blend eyeshadow into a flawless eyeshadow application is layering and blending. What I love most about this tutorial is that it can be applied to ANY eyeshadow palette. Once you have all of these steps down, you can use it with any palette or color variation to get beautiful results.